What is the Dragonknight?
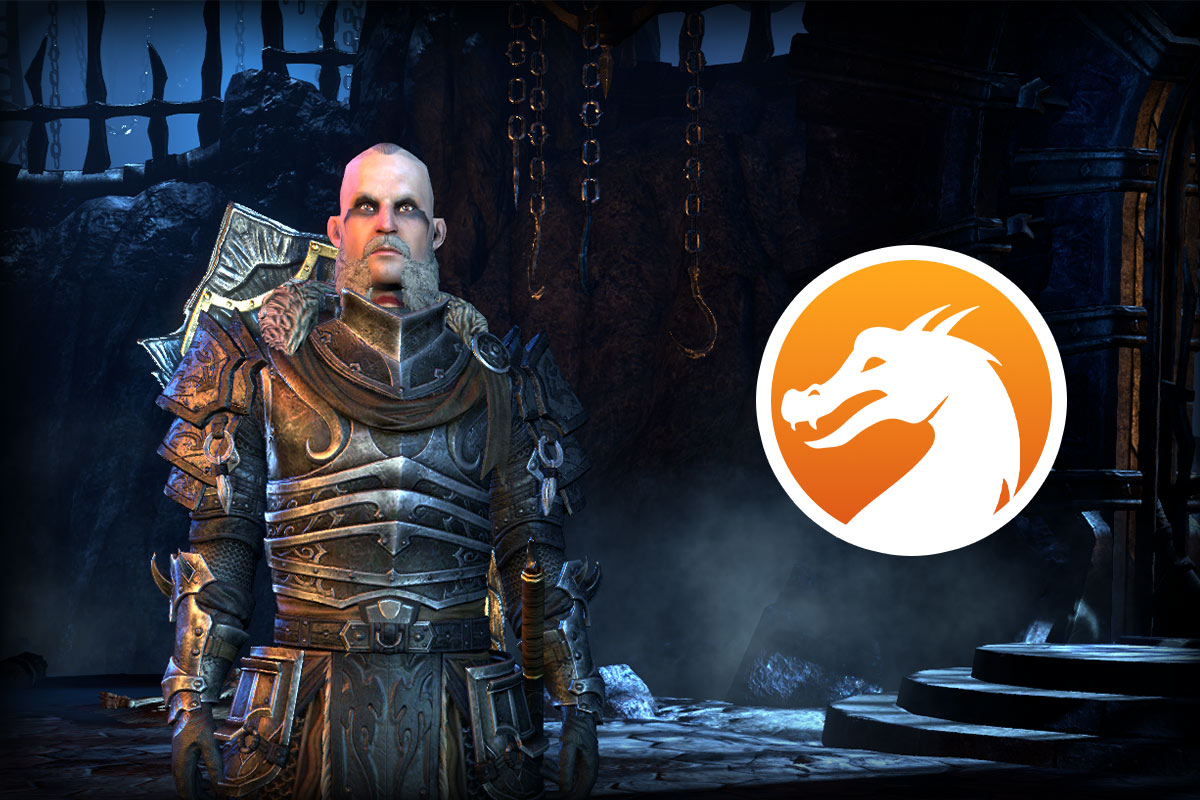
If you’re looking for a class that can take a punch, throw one back, and heal up in the middle of it all – then the Dragonknight might just be your kind of chaos. This fiery berserker wraps himself in flames, unleashes molten fury on his enemies, and fuels his strength through ancient, draconic magic. Whether you want to tank, deal damage, or even play the unlikely role of a healer – this class has you covered.
The Dragonknight is one of the seven playable classes in The Elder Scrolls Online, and trust me… he’s as versatile as he is hot-headed.
Which role can I play with a Dragonknight?
As mentioned before, the Dragonknight can take on all three roles in The Elder Scrolls Online – Tank, Damage Dealer, and even Healer. While he shines as one of the top-tier choices for tanking and dishing out damage, healing isn’t exactly his strong suit. Other classes simply offer more tools in that department.

Dragonknights are good Tanks

Dragonknights can heal, but there are better choices for this role.

Dragonknights are good Damage Dealers
Which race should I choose?
You probably already know the short answer to this question: race doesn’t make or break your build in ESO. Still, the right choice can give you a small edge in performance. That said, there’s no one race to rule them all for the Dragonknight. It all depends on your role and playstyle – so let’s take a look at a few strong options.
Option #1: Tank
If tanking is your thing, the choice is simple: go with the Nords. These tall, viking-like warriors offer a ton of resistances and bonus health – perfect ingredients for soaking up damage like a true frontline beast. Want to learn more about them? Check out our Race Corner for a deep dive.
Option #2: Stamina Damage Dealer
Looking to dish out heavy Stamina-based damage? The Dark Elves (Dunmer) have your back. Their racial passives grant you a sweet mix of Magicka, Stamina, resistances, and both weapon and spell damage. Great for hybrid setups – and that makes them an excellent fit for Stamina Dragonknights in particular. Also works well for Magicka, but there’s a slightly better pick for that…
Option #3: Magicka Damage Dealer
If you want to set the world ablaze with Magicka-based attacks, go with the High Elves (Altmer). They shine as classic spellcasters, offering high Magicka, extra spell damage, and even resource sustain. Bonus perk: they boost XP gain with destruction staves, which comes in handy when leveling.And hey – don’t spend too much time staring at the race screen. No matter what you pick, it’s the way you swing your axe (or staff!) that counts. Trust me, I’ve seen Argonians out-DPS Orcs… though they usually spill more potions than ale.
Can you play the Dragonknight in PvE and PvP?
The Dragonknight is a solid pick for both PvE and PvP. Whether you’re standing firm as a tank or burning enemies down as a damage dealer, this class holds its own against some of the top-tier setups in Tamriel.
In PvP, you can even blend both worlds – becoming a heavily armored juggernaut that still dishes out serious pain over time. Thanks to powerful DoTs (Damage over Time abilities), Dragonknights can slowly roast their enemies while soaking up the hits.
More PvP builds from Dvalin’s dusty old war journals are on the way – so stay tuned, adventurer.
Strengths & Weaknesses – What the Dragonknight Brings to the Table
Strenghts
- Extremely versatile
- Excellent in solo content
- High survivability and self-healing
- Valuable team member in group content
- Naturally tankier than many other classes
- Strong Damage-over-Time abilities
Weaknesses
- Primarily a melee fighter
- Low mobility
- Not the top-tier choice for healing in group setups
- Requires practice
Skill Lines: Dragonknight
Now we are going through the Dragonknight Skill lines. As for every class, there are three in total. Every base ability gives us two different options two morph. This way you can change or add some effects to the ability. I’ll explain every active and passive Skill of the Dragonknight detailed below.
#01 Ardent Flame
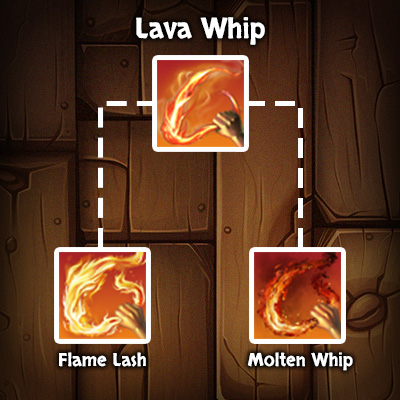
Lava Whip
The lava whip is often used as a spammable ability between some other skills. The base ability lashes an enemy with flames and deals flame damage. If the enemie you are attackis is currently immobilized or stunned, you’ll set him Off Balance.
Morph 1: Flame Lash
Our first morph – the Flame Lash – adds some important effects to this ability. If your enemie is Off Balance or immobilized, this ability transforms into a Power Lash. The Power Lash only costs 50% of the resources, deals more damage and heals you for the same amount of HP.
Morph 2: Molten Whip
The Molten Whip morph adds some other effects. First of all it splits the ability costs between Magicka and Stamina. For some builds this might be helpful to manage resources.
But way more important and stronger is this: Whenever you are using one of the Ardent Flame abilities (doesn’t matter which one), you’ll gain a stack of Seething Fury. Every Stack inceases the damage of your next Molten Whip by 20% and your Weapon and Spell Damage by 100 for 15 seconds. There is a cap of 3 stacks and they will dissolve, after leaving combat.
Searing Strike
With this ability you can hit an enemy with flames. The attack deals direct flame damage and applies a DoT (Damage over Time Effect) to your target which deals more damage over 20 seconds. The Burning status effect can be applied to mulitple targets without cooldown, if you hit them seperately.Morph 1: Venomous Claw
This morph does pretty much the same as the base ability, but with one big change. With Venomous Claw, you no longer deal Flame Damage but Poision Damage instead. The DoT Damage increaes the longer the effect lasts (12% more every 2 seconds).
That’s why you should always wait for effect to finish – don’t just spam it. Another change is the used resource. While Searing Strike is using Magicka, Venomous Claw needs Stamina.
Morph 2: Burning Embers
Burning Embers is pretty similiar to Searing Strike, but you’ll be able to heal yourself with this morph. The heal you get depends on the Rank of the ability and your damage output. You can get up to 100% heal of the damage done.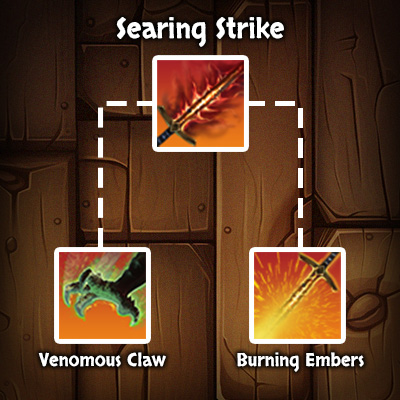
Fiery Breath
This ability let’s you feel like a true Dragon. You’ll exhale a flaming blast in front of you. Enemies in the area will take direct Flame Damage and a Flame DoT (Damage over Time Effect) as well.Morph 1: Noxious Breath
Similiar to some other Dragonknight abilities, like Venomous Claw, this morph simply transforms your Flame Damage Skill, into a Poison Damage Skill and converts it into a Stamina ability. Additionally the inital hit applies Major Breach to enemies. This debuff reduces the Physical and Spell Resistance of the target.Morph 2: Engulfing Flames
This morph is for our true fire dragons. Engulfing Flames is still a Magicka ability and deals Flame Damage, but it’s like a huge buff for all your used flame abilities. Why? It causes your target to take more Flame Damage from all Flame Attacks. This effect scales with your Weapon or Spell Damage and your Max Magicka or Stamina.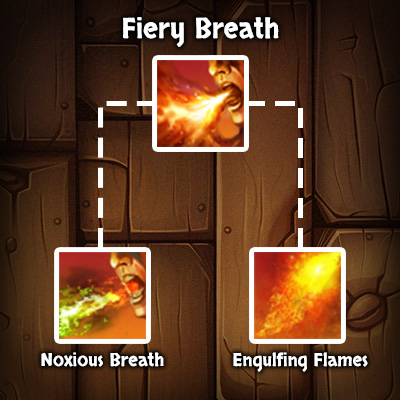
Fiery Grip
Fiery Grip is one of our Tank favourites in ESO. It’s pretty fun and super helpful! With this ability you can launch a chain to graps and pull an enemy to you. Additionally it deals flame damage and taunts the target. As if it wasn’t enough, hitting the target grants Major Expedition. This buff increases your Movement Speed by 30% for 4 seconds.
Morph 1: Unrelenting Grip
With this mechanic you can turn the ability around. If you choose Unrelenting Grip, you’ll pull yourself to the target instead of pulling the enemy to you. Beside the Major Expedition buff, this morph grants you Major Berserk after casting, which increases your damage output bei 10% for 4 seconds.Morph 2: Chains of Devastation
This morph is great for experimenting. It doesn’t change much, but if the target cannot be pulled to you, you’ll restore 100% of the abilitiy’s cost,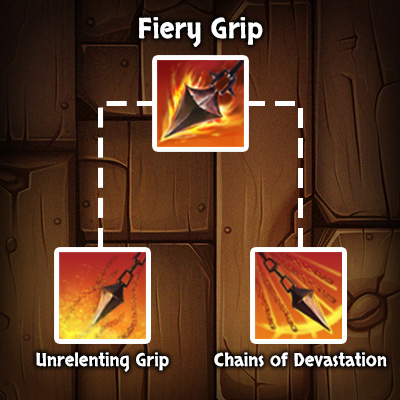
Inferno
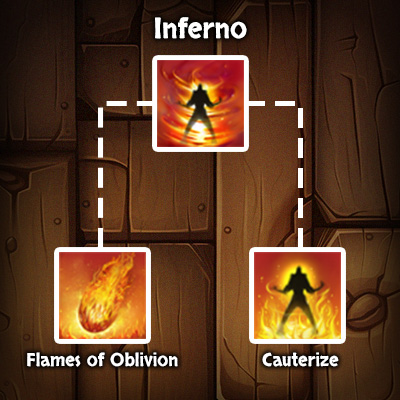
This is one is always nice to have – Inferno activates an aura of flames around you, which launches a fireball the the nearest enemy. This happens every view seconds as long as its active and deals Flame Damage.
While slotted – doesn’t matter whether its front or backbar – you gain Major Prophecy and Savagery. These buffs increase your Spell and Weapon Critical rating which increases your damage output.
Morph 1: Flames of Oblivion
With Flames of Oblivion you can multiplay the number of the fireballs in your aura. Instead of a single fire ball, now you’ll be able to launch three.
Morph 2: Cauterize
Cauterize is a morph, which converts your damage ability into a healing ability. Instead of fireballs you are now casting a aura of embers. These embers can cauterize wounds of yourself or up to 4 nearby allies and heal them. You’ll still profit from Major Prophecy and Savagery.
ULTIMATE: Dragonknight Standard
The Dragonknight Standard is our first ultimate ability. It’s unlocked at level 12 of the Arden Flame Skill Line.
In it’s base form you’ll call down a batlle standard. This standard applies a Flame DoT to all the nearby enemies as well as Major Defile. Major Defile reduces the received healing and the shield strength of the targets. One of your allies has the opportunity to activate a synergie which deals direct Flame Damage to all enemies in the area. Additionally all targets are immobilized for several second.
Morph 1: Shifting Standard
The Shifting Standard morph increases the duration of the ability and allows you to recast the ultimate to relocate the standard.
Morph 2: Standard of Might
This morph makes the ability one of the best ultimates in The Elder Scrolls Online. With the Standard of Might you’ll increase your damage output and reduce the damage input at the same time. The only catch is that you need to stand in the area of the standard to achieve this. But mostly this isn’t a problem at all.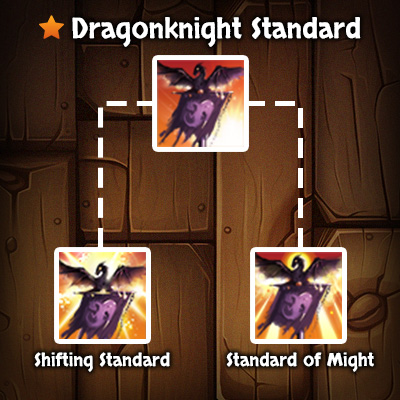
Arden Flame: Passives
Combustion
Increases your damage outpot from Poison or Bruning status effects. Additionally you’ll restore Magicka and Stamina after applying one of these effects to an enemy.Warmith
Direct damage from your Ardent Flame abilities, causes your DoTs to deal more damage and reduces the Movement Speed of the target.
Searing Heat
Increases the Dots from Fiery Breath, Searing Strike and Dragonknight Standard as well as the duration.
World in Ruin
Increases the damage of Flame and Poison attacks.
#02 Draconic Power
Spiked Armor
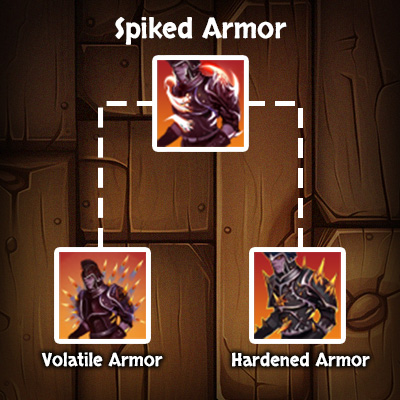
The first skill of the Draconic Power Skill line is Spiked Armor and grants you Major Resolve which increases your Physical and Spell Resistance. Furthermore it deals Flame Damage to any hostile mob that uses a direct damage attack against you in melee range. The damage of the Spiked Armor scales with your Physical and Spell Resistance.
Morph 1: Volatile Armor
This morph adds a nice DoT (Damage over Time Effect) to your ability. It’s still dealing damage to enemies which attack you in meele range, but Volatile Armor adds a spray of fiery spikes, which cause Flame Damage over time.Morph 2: Hardened Armor
The Hardened Armor morph adds a damage shield to the spell. After casting this ability you’ll get a shield that absorbs incoming damage, scaling off your max healthpoints.
Dark Talons
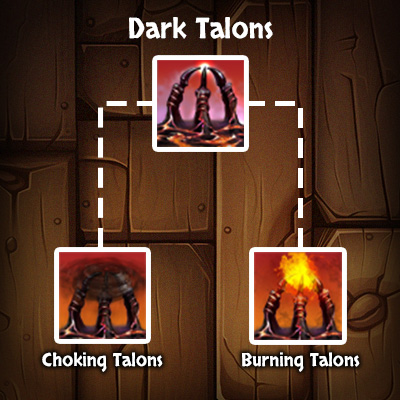
Dark Talons allows you to call talons from the ground. These talons grab the target and immobilize it for some seconds. An ally near the talon can activate a synergy to deal some extra Flame Damage.Morph 1: Choking Talons
The morph Choking Talons reduces the ability cost slightly and applies Minor Maim to the target. Minor Maim reduces the damage done.
Morph 2: Burning Talons
Burning Talons adds an additional DoT to the ability. Beside the direct Flame Damage, you’ll cause some extra Flame Damage over time.
Dragon Blood
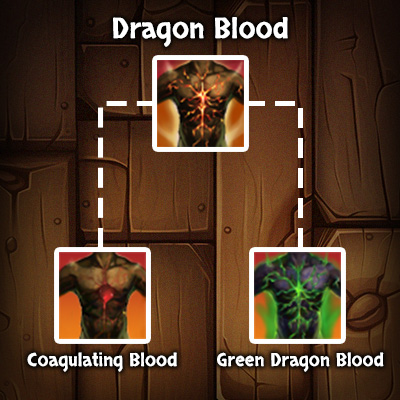
This ability is a great self heal. If you cast Dragon Blood you’ll heal yourself for 33% of your misshing Health. You also gain Major Fortitude which inveases your Health Recovery by 30% for 20 seconds.
Morph 1: Coagulating Blood
Coagulating Blood might be a good choice for some Damage Dealers. If you choose this morph, the ability will now heal based on your offensive statts insteah of your Health. But it increases the amount of healing based on your missing health as well.
Morph 2: Green Dragon Blood
The second morph – Green Dragon Blood – adds a HoT (Healing over Time Effect) to your ability and grants Major Endurance and Minor Vitality in addition to Major Fortitude. That means you’ll not only get increased Health Recovery, but Stamina Recovery and increased healing and damage shield strength too!
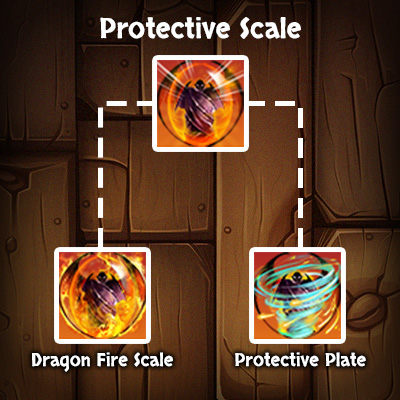
Protective Scale
Protective Scale reduces your damage taken from projectiles by 50% while active.
Morph 1: Dragon Fire Scale
It’s first morph is called “Dragon Fire Scale”. This morph works pretty much like Spiked Armor, but for ranged attacks. Incoming projectiles will cause you to deal Flame Damage back to the attacking target.
Morph 2: Protective Plate
The second morph is for our full tanks. In addition to our damage reduction it grants us immunity to snares and immobilization. Furthermore the cost of the ability is reduced.
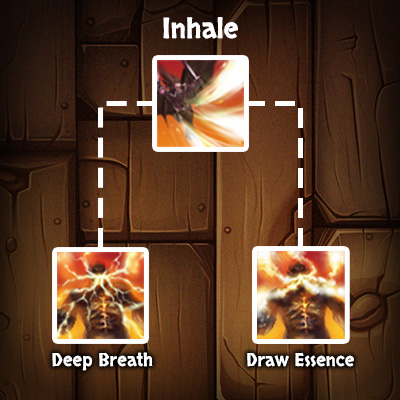
Inhale
For this ability it’s important to note, that you need to cast it while near some enemies. If you cast it you’ll channel draconic energy to suck in the air around you. This directly deals Flame Damage to nearby enemies and heals you for the same amount. After a view seconds you’ll exhale fire and deal damage again to nearby enemies.
Morph 1: Deep Breath
Our first morph is a nice upgrade to the base ability. The initial hit interrupts enemies from casting abilities and increases the damage of the final explosion while exhaling fire.
Morph 2: Draw Essence
Draw Essence is nice for selfhealing an resource sustain. The initial hit heals a higher amount of health and the final exhale refunds Magicka for each enemy hit by the ability.
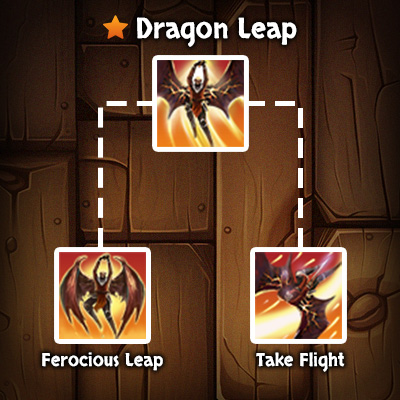
ULTIMATE: Dragon Leap
The ultimate of the Draconic Power Skill line is “Dragon Leap”. With this ability you can launch yourself at an enemy. But you will deal Physical Damage to all enemies near the target, knock them back and stun them.
Morph 1: Ferocious Leap
This morph adds some nice extras to the ultimate. After leaping you’ll receive a big damage shield that absorbs a high amount of incoming damage. The shield scales with your Max Health. Another change is, that the ability no longer deals Physical Damage but Flame Damage instead.
Morph 2: Take Flight
Our second morph – Take Flight – reduces the cost of the ability and increases the damage and range.
Draconic Power: Passives
Iron Skin
Increases the amount of damage you block.
Burning Heart
Increases your healing received for every active Draconic Power ability.
Elder Dragon
Increases your Health Recovery for every slotted Draconic Power ability.
Scaled Armor
Increases your Physical and Spell Resistance.
#03 Earthen Heart
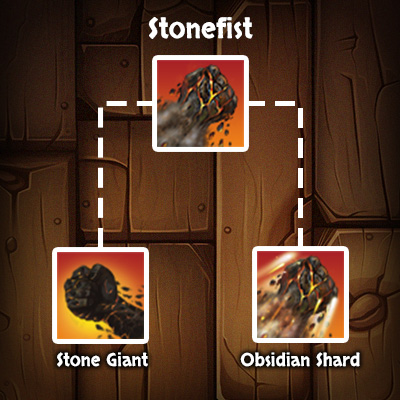
Stonefist
Stonefist is the first ability in our third Dragonknight Skill line – Earthen Heart. With this skill you can crush the earth and deal Physical Damage to all enemies around you. After casting the ability for the frist time, you’ll hold some debris around you. Activating the ability again will launch these debris at an enemy and deal Physical Damage. This can be done several times. The last part of the debris will stun the enemie.
Morph 1: Stone Giant
Our first morph is Stone Giant. Every enemie hit by the ability will be applied with Stagger. This effect causes the target to take bonus damage fromn all attacks.
Morph 2: Obsidian Shard
Obsidian Shard converts the ability into a Magicka skill and adds a nice healing effect. You’ll deal less damage, but you can heal yourself as well as up to two allies around you and you no longer need to activate the ability for a second time.
Molten Weapons
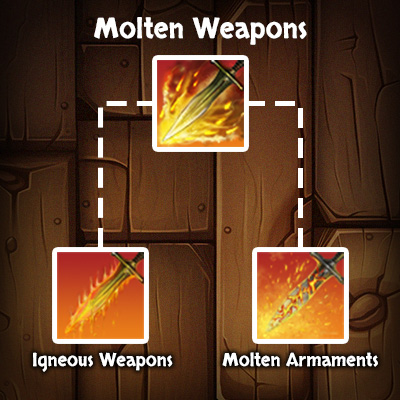
Molten Weapons allows you to charge your own weapons and all the weapons of your group members which makes it a great support ability. The charge grants Major Brutality and Sorcery. Those effects increase your Weapon and Spell Damage.
Morph 1: Igneous Weapons
This Morph increases the duration and the radius of the base ability.
Morph 2: Molten Armaments
With Molten Armaments you can reduce the ability cost and gain Empower. Empower increases the damage of your Heavy Attacks (currently by 70%. But it’s important to note: Empower only deals more damage against monsters. It doesn’t give you an advantage against other Players (PvP).
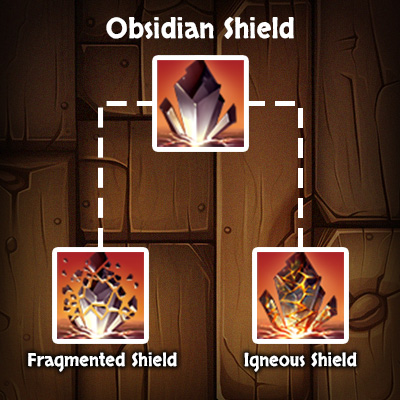
Obsidian Shield
Obsidian Shield grants a damage shield for you and your nerby allies. This shield scales with your Max Health. Additionally you gain Major Mending which increases your healing done.
Morph 1: Fragmented Shield
This morph simply increases the duration of Major Mending.
Morph 2: Igneous Shield
With Igneous Shield you can buff you own shield strength. While the strength of the shield for your allies stays the same, your own shield strength is tribled.
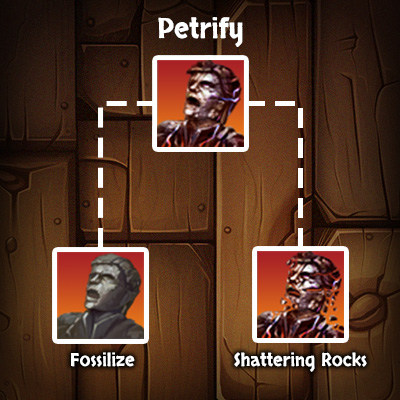
Petrify
Petrify allows to to stun an enemie and deal Flame Damage at the same time.
Morph 1: Fossilize
It’s first morph is Fossilize. This morph adds another effect to the ability. Beside the Flame Damage and the stun, you’ll immoblizie the target after the stun for another view seconds.
Morph 2: Shattering Rocks
As well as the first morph, the second morph adds another effect to the skill. After stunning the enemy you’ll heal yourself for an good amount of Health.
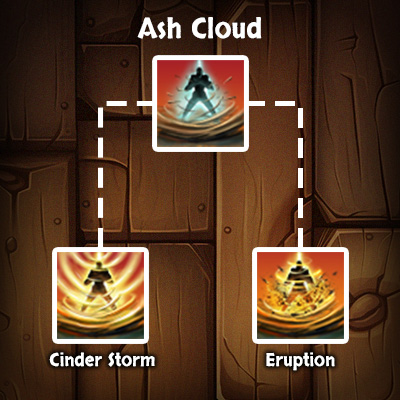
Ash Cloud
With Ash Cloud you can summon an AoE (Area of Effect) which reduces the Movement Speed of enemies and heals you and your allies.
Morph 1: Cinder Storm
Cinder Storm increases the healing effect significantly which makes it a good choice for our Dragonknight healers or solo players.
Morph 2: Eruption
With the Eruption morph you can boost your damage output, but you’ll lose the healing effect. This is a good choice for group PvE setups. Another bonus is that the ability cost is reduced.
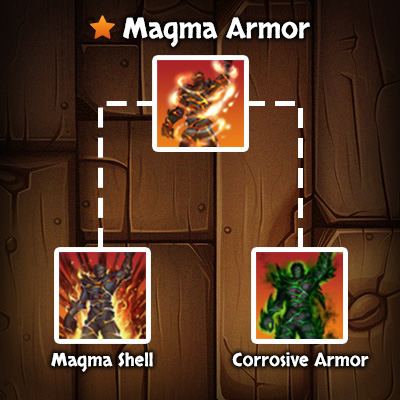
ULTIMATE: Magma Armor
The last Ultimate ability in our Dragonknight guide is Magma Armor. This skill is super strong for solo players and tanks. While activated the incoming damage is limited to 3% of your Max Health. That means you’ll literally take no damage for a good amount of time. But not enough: You’ll deal Flame Damage to all enemies around you.
Morph 1: Magma Shell
Our morphs make this ability even stronger. When activated nerby allies will gain an additional damage shield. This way you can not only protect yourself but your allies as well.
Morph 2: Corrosive Armor
Corrosive Armor is currently my favourite morph for this ability in terms of solo content. Instead of Flame Damage now you deal Poison Damage and while the skill is active you ignore the Physical and Spell Resistance of your target.
Earthen Heart: Passives
Eternal Mountain
Increases the duration of all Earthen Heart abilities.
Battle Roar
When you use an Ultimate, you’ll restore Health, Magicka and Stamina depending of the amaount of ultimate points you used.
Mountain’s Blessing
After casting an Earthen Heart ability, you and all your allies gain Minor Brutality. This grants increased Weapon Damage. While in combat you’ll generate Ultimate Points.
Helping Hands
When casting an Earthen Heart ability, you restore Stamina. This effect only applies when you are using a Stamina ability and the cost must be more than the restored value.
Bonus tip: Don’t be afraid to toss the scrolls aside and craft your own path! Just because a fancy build claims to melt Daedra in 0.2 seconds doesn’t mean it’s the right fit for you. Try out different skills, armor types, and playstyles. The best setup is the one that makes you feel like a hero – not just a copy of someone else’s. Forge your legend, not someone else’s spreadsheet!
Who is the Dragonknight for?
The Dragonknight is currently my personal favorite class in The Elder Scrolls Online. Why? Simple – I love the feeling of being a fiery melee berserker, melting enemies in seconds while being tankier than most other classes out there.
But that’s just part of it. To me, the Dragonknight is the only class in the game that truly feels like a traditional tank. Heavy armor, sword and shield, and all that without needing any skill lines outside the class itself. Sure, you can add extras – but you don’t have to. So if you’re searching for a true melee bruiser or a classic, heavy-armored tank with a flame in his heart… the Dragonknight might just be the perfect fit for you!
